Interior Design
The ultimate kitchen design checklist: 5 simple steps to follow
By Mohit Chakravorty
May 25 2025
Ready to create your dream kitchen but feeling overwhelmed? This comprehensive guide breaks down the kitchen design process into manageable steps that anyone can follow—whether you're planning a complete renovation or just refreshing your space.
Have you ever walked into your kitchen and felt that something just wasn't right? Maybe it's the awkward corner cabinet you can barely reach, the lack of counter space when cooking, or simply that the whole space feels outdated and uninspiring. I've been there too, staring at my cramped kitchen wondering how professional designers make it look so effortless.
The truth is, designing a functional kitchen isn't magic—it's methodology. The difference between a frustrating cooking space and one that feels like it was custom-made for you comes down to following a few key principles that professional designers use every day.
In this guide, I'll walk you through the five essential steps to creating a kitchen that not only looks stunning but actually works for your lifestyle. Whether you're working with a tiny apartment kitchen or planning a spacious dream space, these guidelines will help you avoid costly mistakes and design regrets.
1. Plan Your Layout
The foundation of any successful kitchen starts with a thoughtful layout. I can't stress this enough—even the most beautiful cabinets and high-end appliances won't save a poorly planned space.
Floor Plan Fundamentals
Before picking paint colors or shopping for appliances, sketch your kitchen's floor plan. Consider the following:
Traffic flow: Allow at least 36 inches for walkways and 42-48 inches between opposing countertops.
Door clearance: Ensure cabinet and appliance doors can open fully without obstruction.
Appliance placement: Position appliances where they make sense functionally—refrigerator at the entrance, cooking zone away from high-traffic areas.
The Work Triangle
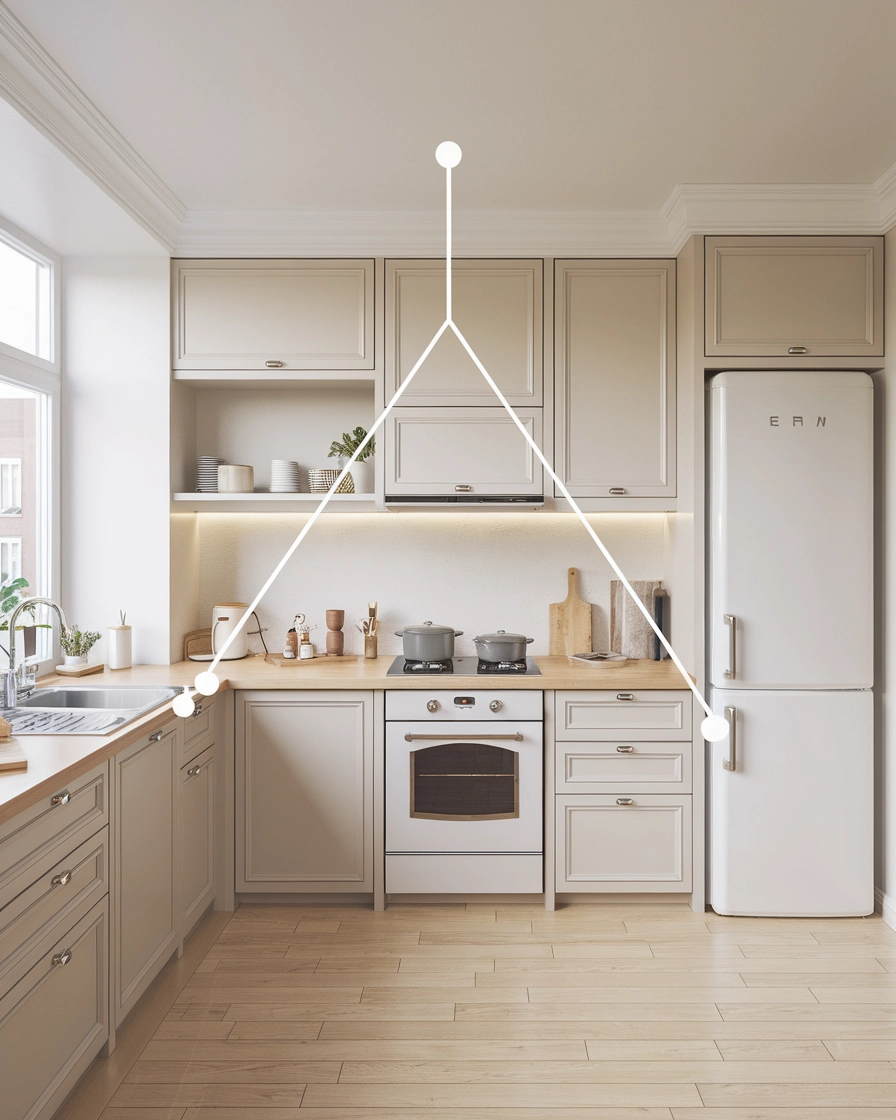
The classic "golden triangle" connects your three primary work zones: sink, refrigerator, and stove. For optimal efficiency:
Keep the total distance between these three points between 13-26 feet
Avoid interrupting the triangle with traffic flow
Place your most-used appliance in the most accessible position
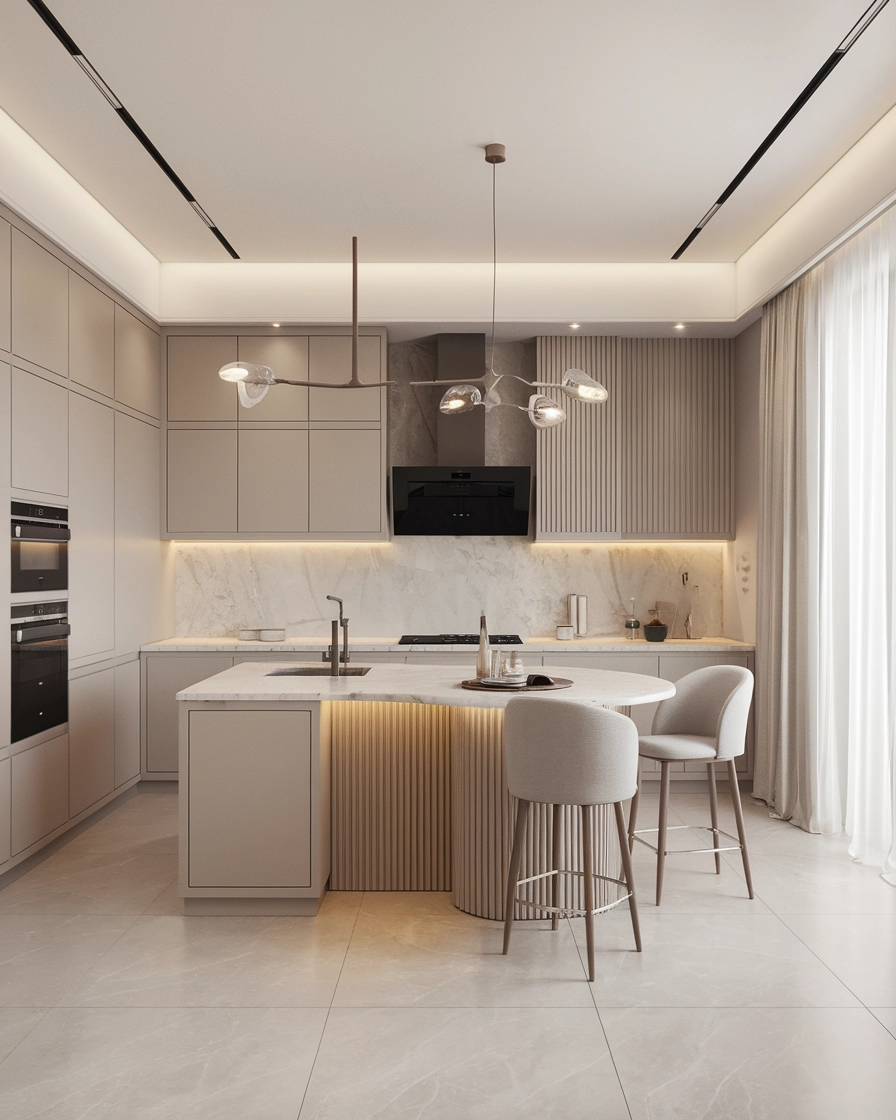
Choose the Right Layout Type
Different layouts work better for different spaces:
L-shaped: Great for small to medium kitchens, maximizes corner space
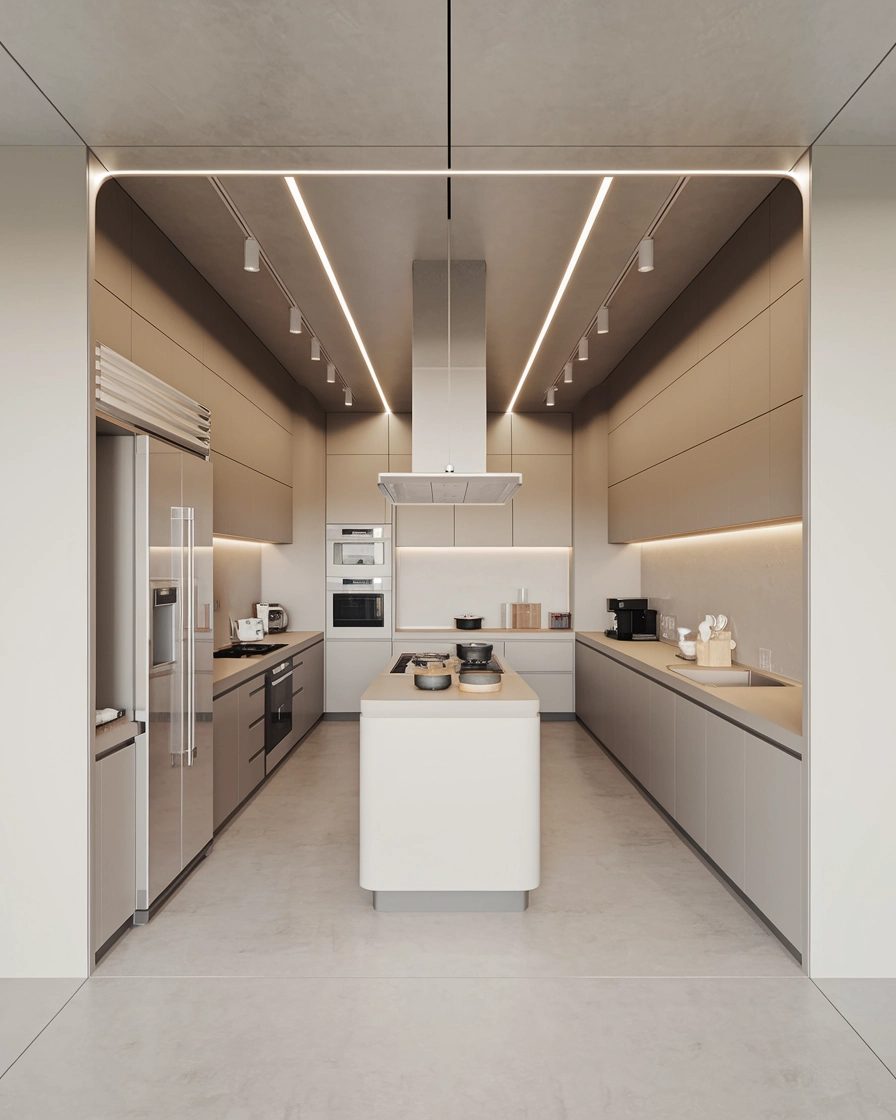
U-shaped: Offers abundant counter space and storage, ideal for one primary cook
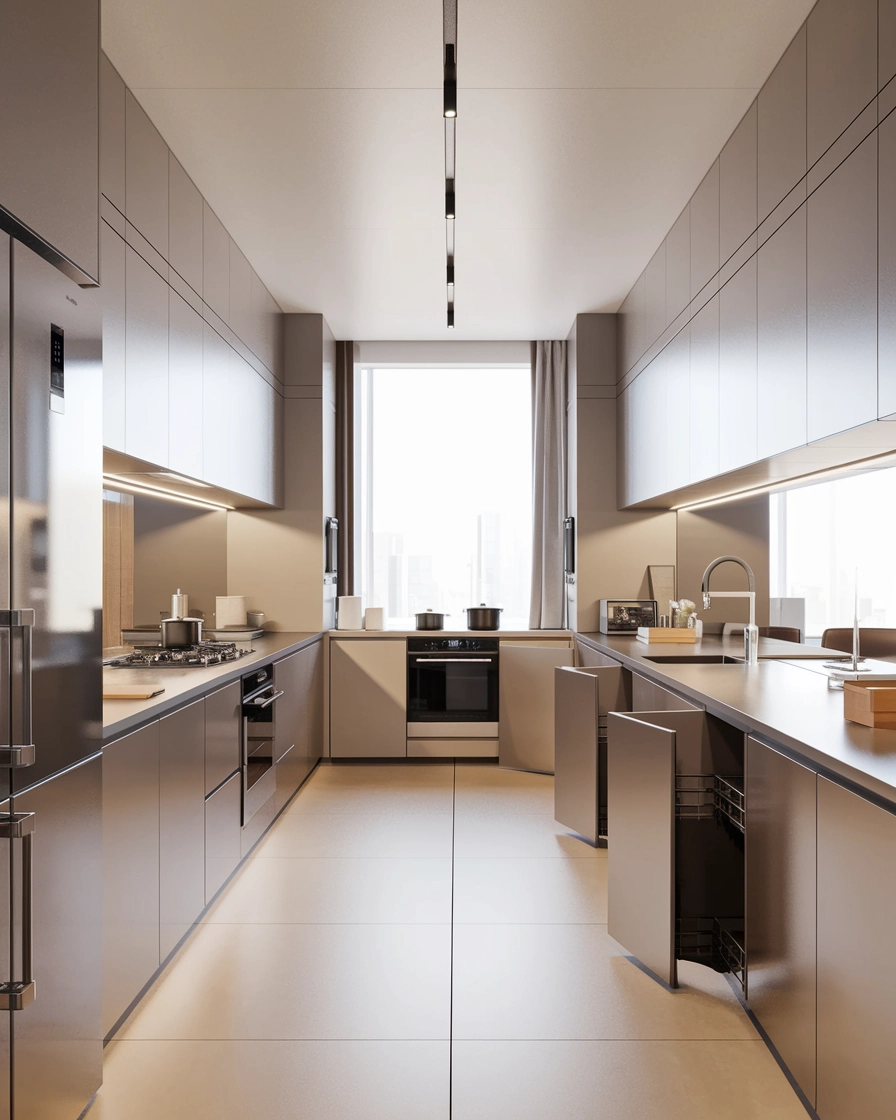
Parallel/Galley: Efficient for narrow spaces, creates two useful work walls
Single wall: Perfect for small apartments, requires creative storage solutions
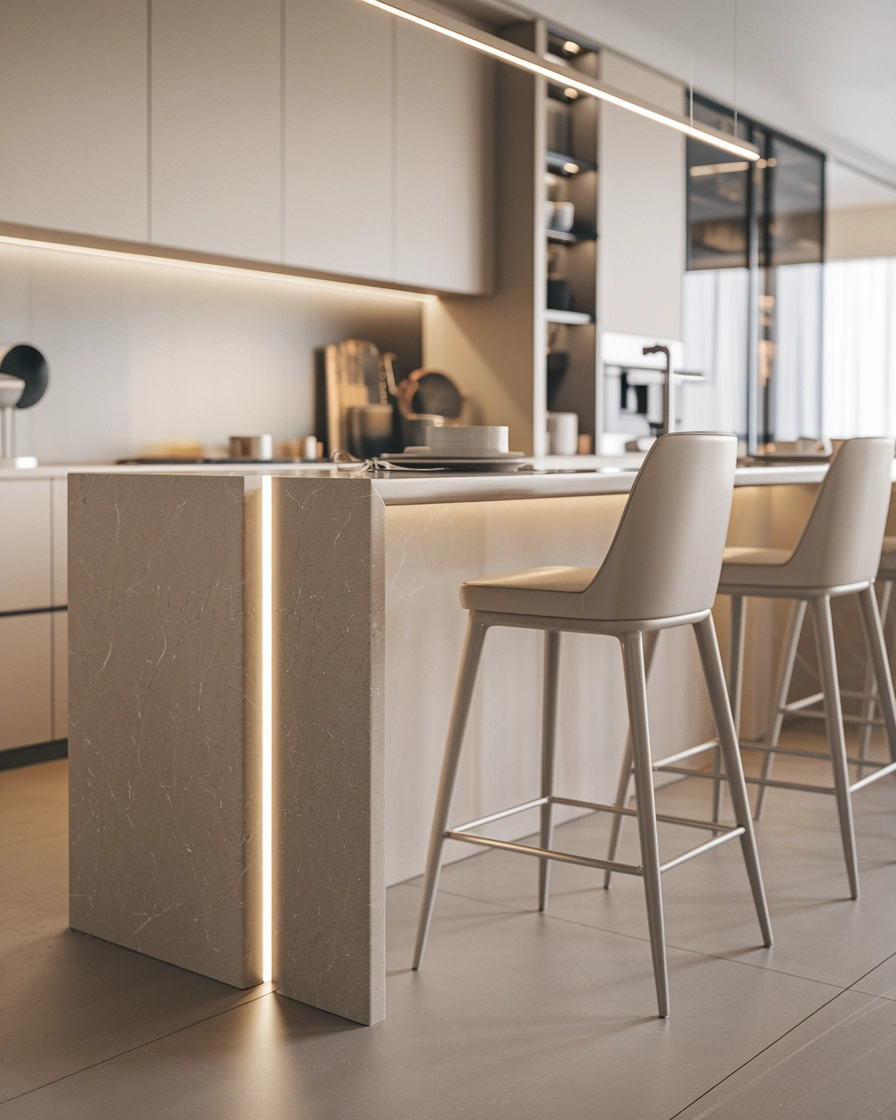
Island: Adds workspace and seating in larger kitchens
Strategic Switch Placement
Don't overlook the importance of electrical planning:
Position outlets every 4 feet along countertops
Install dedicated circuits for major appliances
Consider under-cabinet lighting controlled by easily accessible switches
Place light switches at kitchen entry points
Smart Storage Solutions
Maximize every inch with these ideas:
Pull-out pantry shelves for easy access to back items
Corner solutions like lazy Susans or specialized corner drawers
Vertical dividers for baking sheets and cutting boards
Drawer organizers for utensils and small tools
Cabinet risers to double shelf space
2. Get the Dimensions Right
Using industry-standard measurements will make your kitchen both comfortable and functional—ignore them at your peril!
Counter Depth and Height
Standard counter depth: 24" to 26" (deep enough for appliances but still allows comfortable reach)
Standard counter height: 36" (optimal for most adults)
Island overhang: 12" for comfortable knee space if using for seating
Overhead Storage Spacing
Distance from countertop to upper cabinets: 18" (minimum 15")
Upper cabinet depth: 12" (standard) or 15" (deeper storage)
Standard upper cabinet height: 30"-42" depending on ceiling height
Sink and Appliance Dimensions
Standard sink width: 22"-33" (single basin) or 32"-43" (double basin)
Sink depth: 8"-10" for comfortable dishwashing
Refrigerator clearance: Allow 3" for door swing plus walking space
Dishwasher clearance: Ensure 24" width plus plumbing connections
When renovating a kitchen, it’s essential to consider cabinet placement carefully. A common mistake is installing upper cabinets too high, making them difficult to reach—especially for those on the shorter side. For instance, someone who is 5'4" might struggle to access the second shelf without a step stool. To avoid this inconvenience, always adjust cabinet height based on the primary user’s reach and comfort. Small adjustments can make a big difference in functionality.
3. Choose Your Aesthetic and Style
Now for the fun part—defining the look and feel of your kitchen.
Color Scheme Development
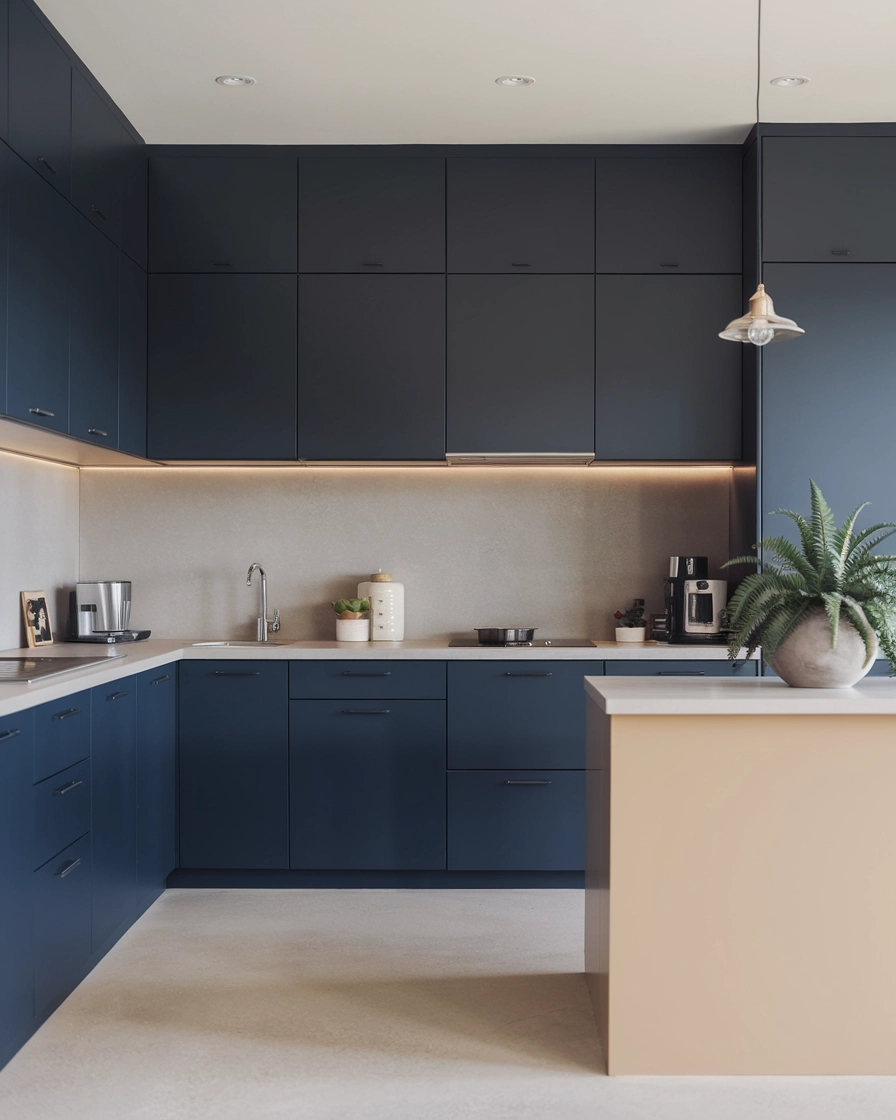
60-30-10 rule: Choose a dominant color (60%), secondary color (30%), and accent color (10%)
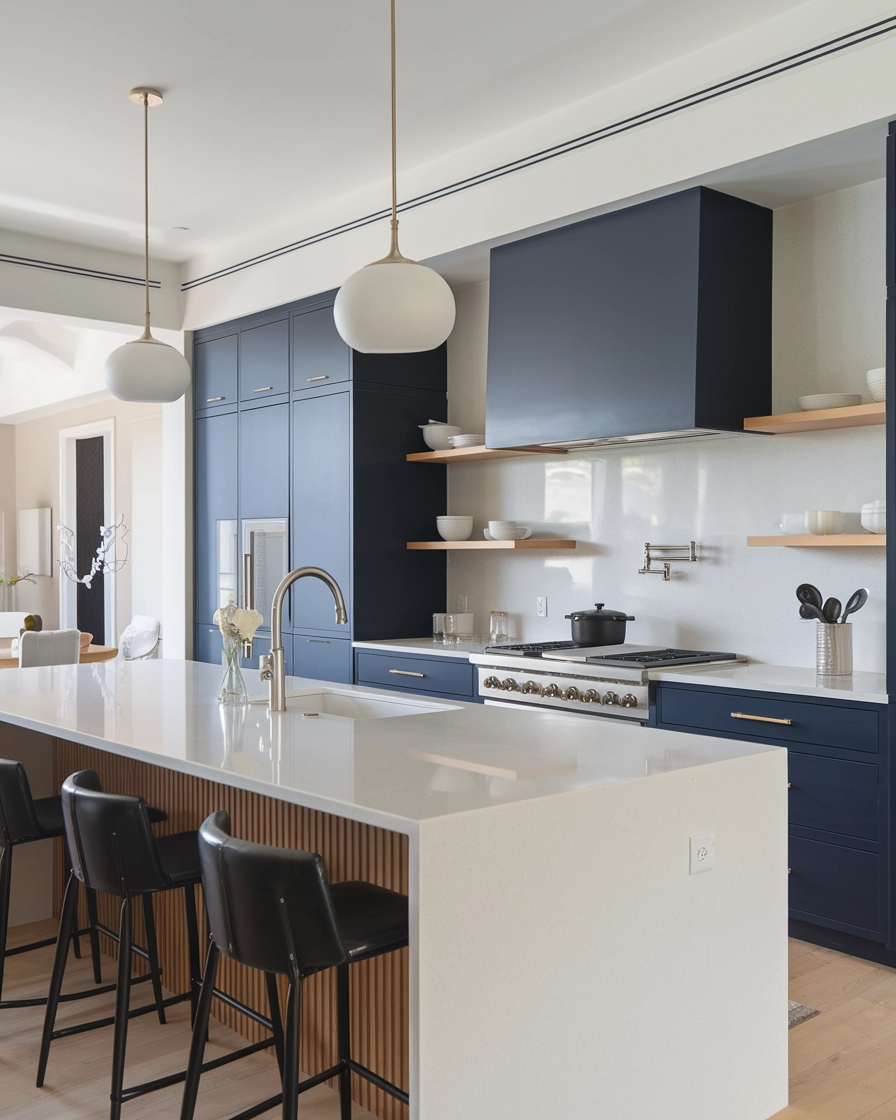
Timeless choices: White, gray, and wood tones offer longevity
Bold choices: Navy, green, or black can create dramatic impact
Testing tip: Buy sample paint and cabinet swatches to view in your actual kitchen lighting
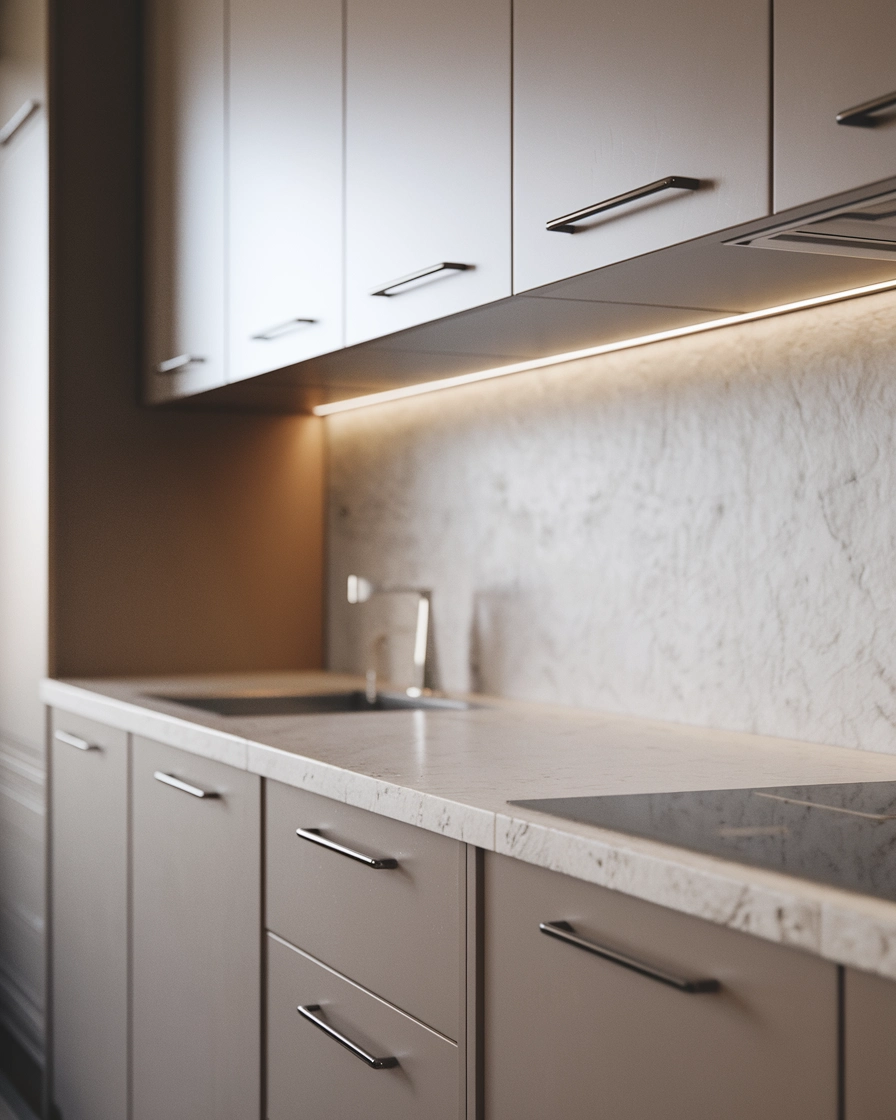
Lighting & Ventilation Planning
Great kitchens use layers of lighting:
Ambient lighting: Overall illumination (recessed lights or flush mounts)
Task lighting: Under-cabinet lights for work areas
Accent lighting: Pendants over islands or dining areas
Ventilation: Choose a range hood with at least 100 CFM per linear foot of range
Hardware Selection
These "jewelry" pieces bring your design together:
Cabinet pulls: Horizontal for drawers, vertical for doors
Finish options: Brass, matte black, and brushed nickel remain popular
Modern options: Integrated handles or push-to-open mechanisms
Consistency tip: Match hardware finishes with faucets for a cohesive look
4. Select Durable, Low-Maintenance Materials
The materials you choose determine both how your kitchen looks and how it performs over time.
Countertop Options
I installed stainless steel countertops in my kitchen three years ago, and while they do show water spots, they've endured everything from hot pans to aggressive chopping with zero damage—worth every penny for a serious cook!
Cabinetry Finishes
Painted cabinets: Versatile color options, can be refreshed
Wood veneer: Natural warmth, showcases grain patterns
Thermofoil/laminate: Budget-friendly, consistent color
Maintenance tip: Semi-gloss or satin finishes show fewer fingerprints than high-gloss
Handle Choices
Profile handles: Sleek, integrated into cabinet edges
Bar pulls: Modern, clean lines, easy to grip
Knobs: Traditional, economical, easy to change
Design tip: Oversized handles make a statement and are easier for all ages to use
5. Hardware Selection
The mechanical components of your kitchen might not be glamorous, but they determine how pleasant your kitchen is to use every day.
Hinge Selection
Two top options worth considering:
Blum soft-close hinges: Industry standard, prevent cabinet doors from slamming
Push-to-open hinges: Create sleek, handle-free cabinets that open with a gentle push
Drawer Systems
Innotech drawer systems: Full-extension, high weight capacity, lifetime warranty
Quadro channels: Smooth operation, synchronized movement, easy installation
Upgrade tip: Soft-close drawers are worth the extra cost, especially in high-use areas
Specialty Hardware Considerations
Corner solutions: Magic corner or LeMans pull-outs maximize awkward spaces
Tall cabinets: Pull-down shelving systems bring items within reach
Sink base: Tip-out trays utilize the false drawer front space
FAQs About Kitchen Design
How do I determine my budget for a kitchen renovation?
Start by establishing a total budget (typically 5-15% of your home's value for best ROI), then allocate funds for labor (about 20-35%), materials (40-50%), and maintain a 10-20% contingency for unexpected issues. I always recommend prioritizing quality over quantity—better to have fewer but better cabinets than cutting corners on materials that will need replacing sooner.
Should I hire a professional kitchen designer?
If your renovation involves moving plumbing, electrical, or walls, a professional kitchen designer can be well worth the investment (typically 8-10% of your budget). They bring technical expertise that can prevent costly mistakes and often have access to trade discounts that can offset their fee. For simple updates or confident DIYers, planning software and thorough research can sometimes suffice.
How do I choose the right materials for my kitchen?
Consider three factors: durability needs (how rough are you on surfaces?), aesthetic preferences (what style resonates with you?), and realistic budget constraints. For high-traffic kitchens, invest in quality countertops and flooring first, as these take the most abuse. Always request material samples to test in your actual space before committing—what looks perfect in a showroom might not work with your lighting.
What are the most popular kitchen design styles?
Currently, transitional kitchens (blending traditional and contemporary elements) remain most popular for their versatility and timeless appeal. Modern kitchens with clean lines and minimal ornamentation are gaining ground, especially in urban areas. Traditional designs with detailed cabinetry and classic elements continue to work well in historic homes. Farmhouse style is gradually evolving toward more refined interpretations with fewer rustic elements.
How do I optimize storage in my kitchen?
Start by cataloging what you actually own and use regularly—then design storage around these items rather than generic solutions. Drawers typically provide better access than cabinets with doors, especially for lower storage. Extend cabinets to the ceiling (even if the top shelf requires a step stool) to maximize vertical space. Consider "zones" based on use: cooking zone, cleaning zone, and food storage zone, with appropriate storage solutions for each.
Expert Tips That Make a Difference
Use tray dividers: Vertical storage for baking sheets and cutting boards is more efficient than stacking.
Install outlets inside a drawer: Charge devices out of sight to keep counters clear.
Incorporate a pull-out trash system: Ideally near the sink or prep area.
Use full-height backsplashes: Eliminate hard-to-clean seams and create a seamless look.
Add under-cabinet lighting: Task lighting reduces eye strain and makes prep safer.
Mistakes to Avoid
Ignoring the workflow: Don't sacrifice function for aesthetics.
Skimping on lighting: You need more than you think.
Choosing a too-trendy style: What's Instagram-worthy today may look dated in five years.
Neglecting ventilation: Proper ventilation prevents odors, moisture damage, and grease buildup.
Overlooking outlet placement: Plan for appliances and charging needs.
Conclusion
Creating your dream kitchen doesn't have to be overwhelming when you break it down into these five manageable steps. By thoughtfully planning your layout, getting the dimensions right, selecting a cohesive aesthetic, choosing durable materials, and investing in quality hardware, you'll create a space that's not just beautiful but truly works for your lifestyle.
Remember that the best kitchens balance timeless design with personal touches that make the space uniquely yours. Whether you're working with a designer or tackling this project solo, these guidelines will help you create a kitchen that serves you well for years to come.
Ready to start planning? Grab a measuring tape, sketch your space, and begin visualizing your ideal kitchen—your future self will thank you for taking the time to do it right!